I decided to try and stay on task and get some sold things remade and since I was starting with the barefoot sandals, I kind of veered off task a bit to take pictures of the creation. I have been meaning to do an Instructable on them for quite some time but I never seemed to make the time. Why would I bother doing an Instructable when I have already posted the pattern? Well, it's because the audience there is completely different from my usual tatting friends. Doing these allows me to introduce tatting to new people in a much more visual way. I can step out processes like joining together a first and last ring which seems to stump folks. Heck doing these is what got me to make the short videos and those have sucked in countless new tatters so it really is a win.

You can find it
here and the wonderful people over at
Instructables have featured the tutorial on there main page as well. This just exposes it to way more views and again that's wonderful. Of course this does not help me remake pieces that need remaking, so I must get back to that today. I also had a request this morning for a great many pieces to send overseas. I'm a little hesitant as it is a very large order with a small discount I offered before I knew just how large the order would be. There is also the matter of shipping all this stuff. I've not worried about my small packages being considered a commercial shipment before, but this one seems to cross that line and I'm not certain I know how to handle all that. Of course if I ship with UPS, I think they handle all that business and I just have a huge shipping cost which I would of course have the buyer pay...maybe I can do it. I think there is more thinking involved here.
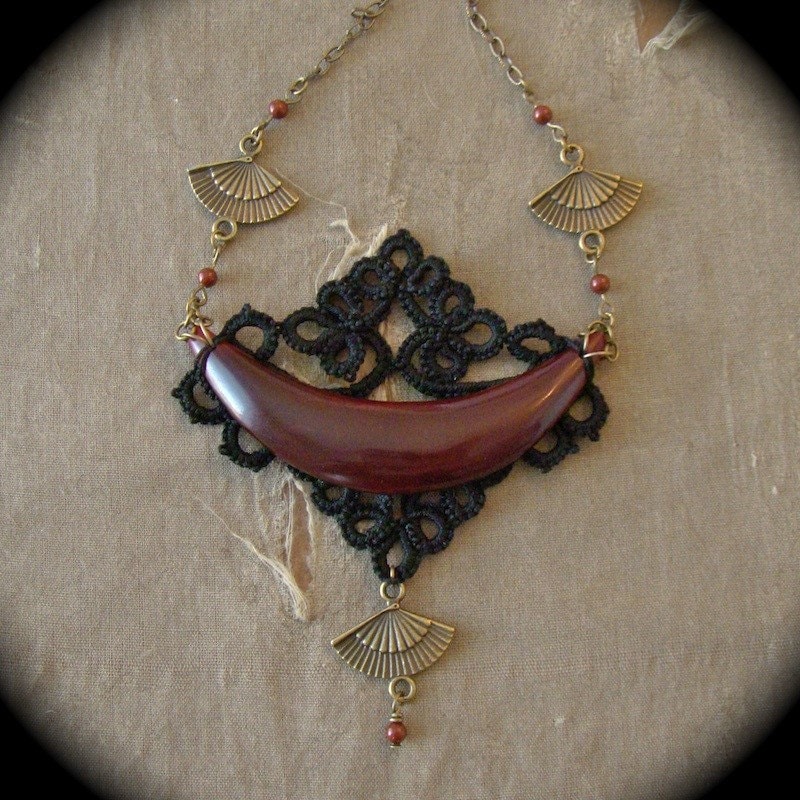
I also got the two pieces with bad pictures listed with better pictures yesterday. The first one up there is the redone piece. I really am so much happier with the way it hand now. I still has the same belly dance flavor with the bells, but now it's much more wearable and supported by the extra chains. The other is also listed and it too has a nice weight to it, but still hangs very well. I suppose I've just gotten better at assembling chains and my tatting over the past few years. It was bound to happen, practice and all that. Anyway, I'm going to go stress over that crazy order and get the day started.


5 comments:
I agree that the remade necklace is improved. I was too late to make any suggestions so for next time - what about having the oval horizontal? With a sort of quarter moon shape for the tatting - curving but tapered.
Thanks for the new instructable. You do have some amazing designs.
Great your new instructable! Thanks so much. I just managed your mask from instructables (I have it on my blog now), it is not quite right, but I learnt a lot while doing it and the result pleases me a lot. I found working round the wire the hardest part, I must confess. Maybe because I thought I had finished.I made the upper part of the mask stiffer with bookbinding glue which I had made thinner with water and that worked.
In Step Two with the Corner Motifs. You say, R 6ds join to motif. What do you mean when you say join to motif?
@Nikki Whoops, I forgot to adjust that portion of the pattern. Originally, I wrote out the pattern with the corner motifs being tatted after the main motif, but later found it easier to do it the other way around. The Instructable is now changed to say picot where it said to join.
Post a Comment