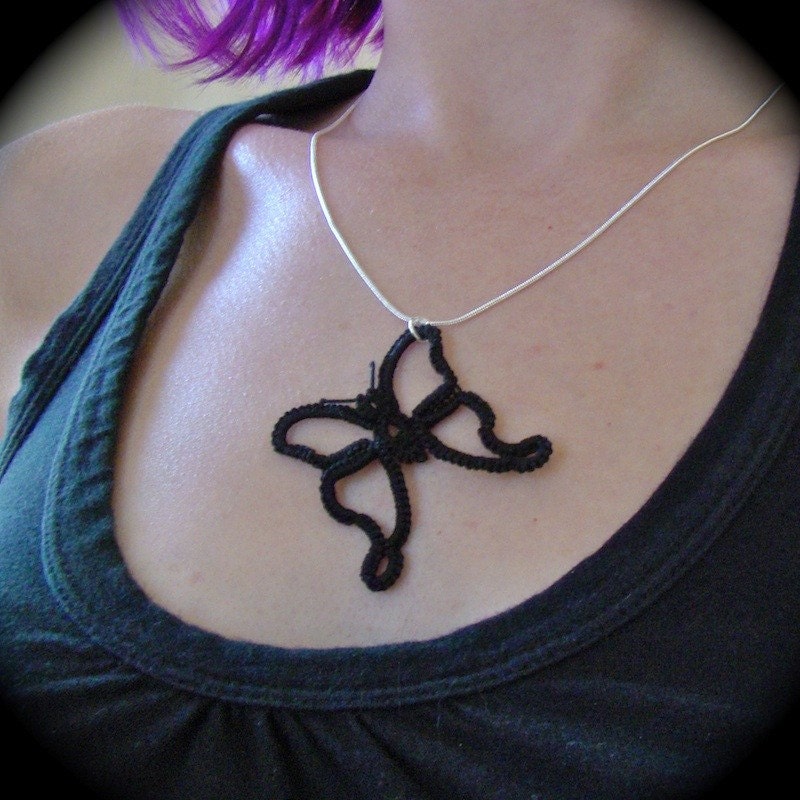
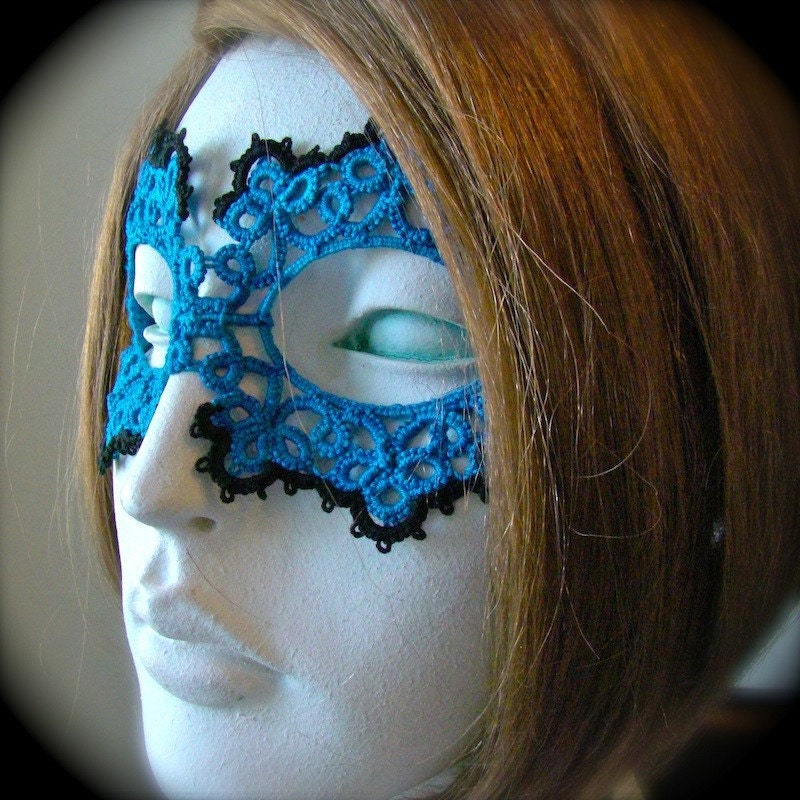
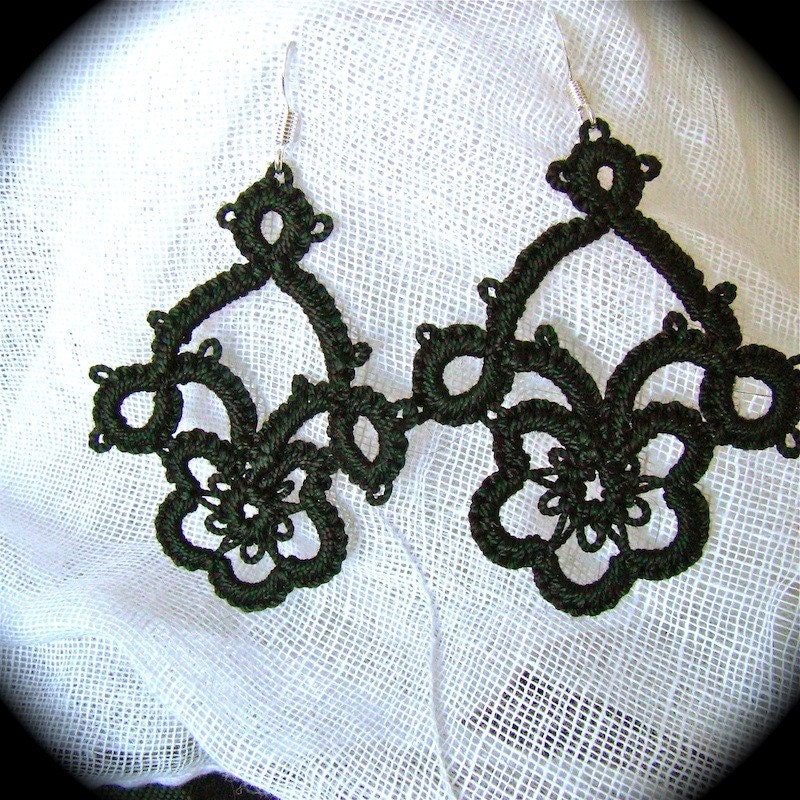
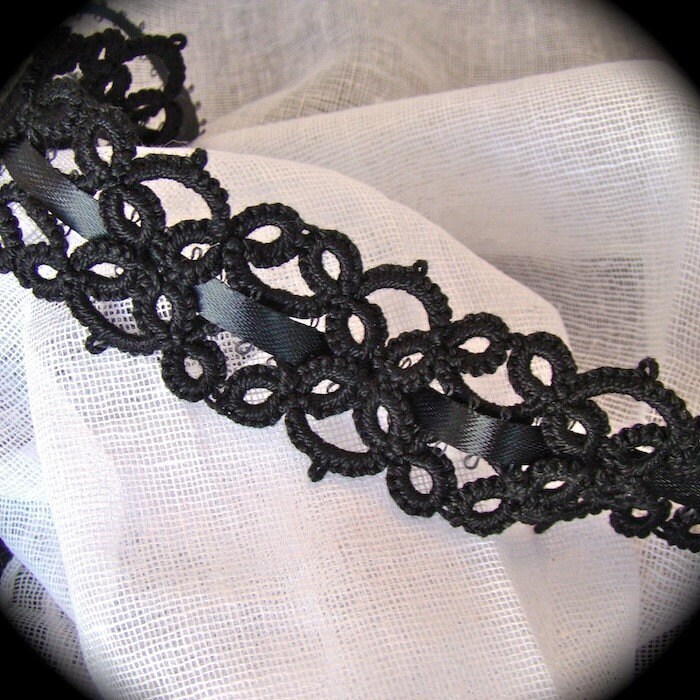
 If nothing else, yesterday was fairly productive. I remained in good health and my daughter also woke as if nothing was amiss. There was a particularly long homeschooling session, but the oldest didn't complain, so again productive. I finished up a couple of pieces that were pending including this convertible piece here, got packages in the mail and started on a mask late in the evening. So while not exactly a creative day, it was productive.
Now for today's short rant brought to you by people who "buy" something and then fail to pay for it. Generally this sort of nonsense occurs with new people who didn't understand that clicking the huge 'commit to buy' button was just that or they don't realize that they didn't finish by clicking through to paypal. While etsy is still saying that they are rolling out express payment, I've had two of these "sales" in as many days and they have been to people who have bought things in the past. The thing that really bugs me though is after I send out a polite reminder of their lack of payment, I get no response whatsoever. Come on people, just a short, 'sorry, I changed my mind' would do the trick, but no I'm stuck patiently waiting until three days have past to cancel the thing. I know I could cancel straight away, but when it really gets down to it, I'd rather give people the benefit of the doubt. I'm just particularly annoyed this morning thus the rant.
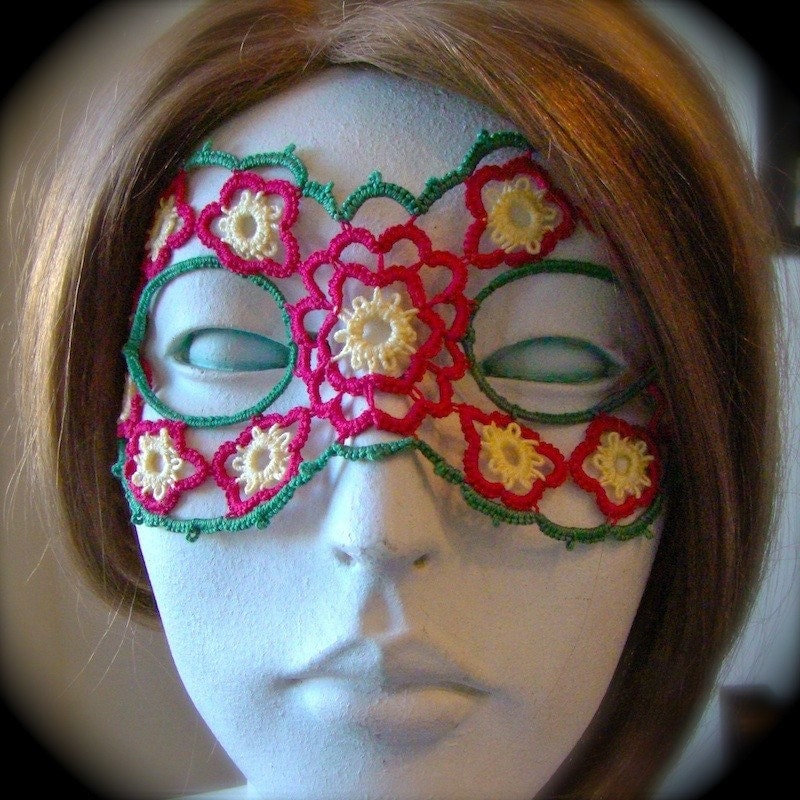
Now, I'm racking my brain to find anything else to share with you so I don't leave here with the taste of rant in my mouth...or I suppose more likely the smell of it on my typing fingers, but I can't think of a thing. It's bill day...that's not very upbeat and it's only Thursday so no great weekend to look forward to yet. I'm just going to work on finishing the mask today. I should have the supplies I ordered tomorrow, so I get to start on the wedding mask then. Ooh, I know a small bit of relieving news. I got word that the emergency bridal veil that I made and shipped Express to Canada made it apparently unharmed. I can't tell you the stress shipping that put me under. I wanted so badly to make certain it arrived in time for her wedding. which I hope will be the stuff of dreams!